| Chapter 7. Admin settings | ||
|---|---|---|
   | ||
| Chapter 7. Admin settings | ||
|---|---|---|
| ||
Create your SuperUser
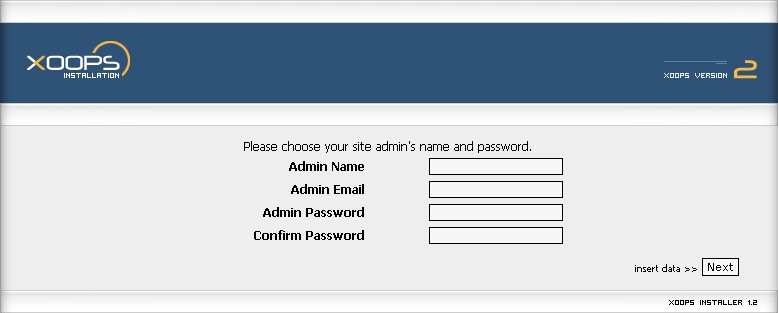
Let's proceed. Having found the tables were created correctly, you just clicked on the button, and now it's time to define your XOOPS site's superuser, that is, the one that calls the shots, the Webmaster, the capo di tuti capi, whatever you want to call it. You'll see a screen such as this:
In the field called Admin Name write the name of your superuser. A common choice is, of course, webmaster, but you can be as creative as you want. Then fill the Admin Email field with the address where you want to receive mail sent to the webmaster. And last you have to type twice the password you want for your superuser.
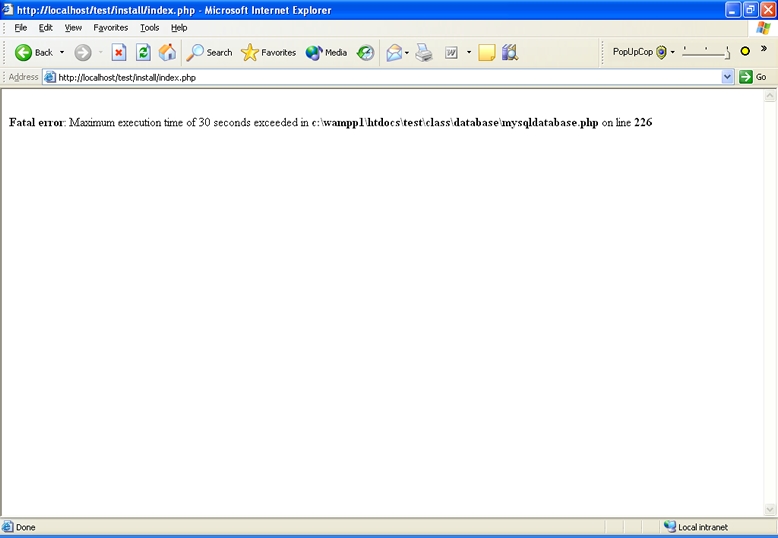
As Murphy was well aware of, many things can always go wrong. One of them is pictured in Figure 7.2, “ The program timed out! Probably a bad connection to the MySQL server.”. What happened here?
If you see a message like this, shutdown your Apache server, then shutdown your MySQL server, then fire again the MySQL server, fire up again the Apache server and try again. If they are active, you will probably have no more troubles.
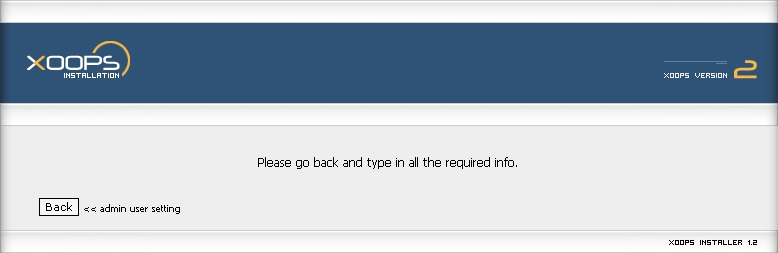
Another thing that can happen every once in a while is that you unconsciously type different things in the two instances of the password field. Since all you're seeing is those big black dots, you won't know you messed up until you see something like this. This screen means you've entered different passwords in these fields, so go and retype both passwords, making sure you type the same thing this time.
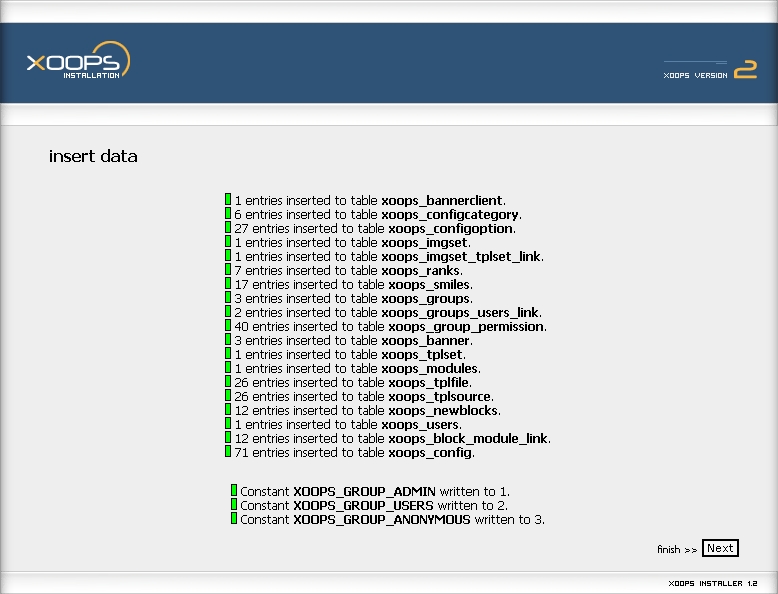
If everything is ok, as it should be because I'm just being paranoid (they ARE after me, believe me!), you'll see the wizard spring into action again. Now the information screen shows this:
As you can see, 19 of your 31 tables have received data. What did XOOPS write, and where, and why? Let's see... The display is not ordered. After a little rearranging, we can see the following things have happened:
xoops_banner received 3 entries. These are located in the folder images/banners and are xoops_banner.gif, xoops_banner_2.gif and banner.swf. Now you know you can include also Flash files as banners.
xoops_bannerclient received 1 entry. This particular client is no other than XOOPS itself. The three banners inserted into the database belong to XOOPS, so your site will be born with three XOOPS banners, which of course you can change to suit your needs.
xoops_block_module_link received 12 entries. This corresponds with the 12 entries also inserted into xoops_newblocks. This means the System module has 12 blocks defined: “User Menu”, “Login”, “Search”, “Waiting Contents”, “Main Menu”, “Site Info”, “Who's Online”, “Top Posters”, “New Members”, “Recent Comments”, “Notification Options” and “Themes”. These are all blocks you can manage within your Template Manager, but that's another story.
xoops_config received a whopping 71 entries. These are too many to explain here. If you want to know what got written to this table, you can either open your MySQLadmin and take a look at the table, or, more easily, you can open install/makedata.php and see there, in lines 151-223, the whole list of entries. If you choose this last option, you may wonder why the information screen talks about 71 entries and the list of inserted entries ends up in entry number 73. The reason is there are no entries numbered 25 and 26; my guess is they were dropped out during XOOPS evolution.
xoops_configcategory received 6 entries. These categories are “General Settings”, “User Info Settings”, “Meta Tags and Footer”, “Word Censoring Options”, “Search Options” and “Mail Setup”. You'll meet these options when you see your site's preferences in the admin section, but again, that's for another story.
xoops_configoption received 27 entries, whose meaning you can read in lines 43-70 of the file install/sql/mysql.data.sql. They are default values for a lot of general options of your site.
xoops_groups received 3 entries, corresponding to the three default user groups: webmasters, registered users and anonymous users.
xoops_grouppermission received 40 entries, that have to do with permissions for groups for the module installed (System) and its 12 blocks. The 40 entries mean this: 1 to let webmasters manage the System module, 3 to let the three groups read the System module. The other 36 define, for each group and each block of the System module, a permission level (12 x 3 = 36 entries).
xoops_groups_users_link received 2 entries. This just means the one user created (the superuser or webmaster) belongs at once to the webmasters and registered users groups.
xoops_imgset received 1 entry. This defines the default image set.
xoops_imgset_tplset_link received 1 entry. This links the default image set to the default template set.
xoops_modules received 1 entry. This is, of course, the entry associated to the System module, the only one installed by XOOPS.
xoops_newblocks received 12 entries, as we already saw: the 12 blocks associated to the System module.
xoops_ranks received 7 entries: "Just popping in", "Not too shy to talk", "Quite a regular", "Just can't stay away", "Home away from home", "Moderator" and "Webmaster". These are the default values of user ranking, which you can change in the admin section.
xoops_smiles received 17 entries. These are the 17 smilies you have available when using the XOOPS editor.
xoops_tplset received 1 entry, the corresponding to the default template set.
xoops_tplfile received 26 entries. These are the templates associated to the default template set and used by the System module.
xoops_users received 1 entry. This corresponds, of course, to the single user created during the installation, that is: you, the superuser, the Father of All Users.
All this was done by the wizard while you blinked. Amazing, huh? So what happens now? Of course: you click again on the omnipresent button. You're almost there! Let's go to the last Chapter 8, Ready to go!.
| | |
| Chapter 6. Database settings | Home | Chapter 8. Ready to go! |