| Chapter 6. Database settings | ||
|---|---|---|
   | ||
| Chapter 6. Database settings | ||
|---|---|---|
| ||
Talk to your database
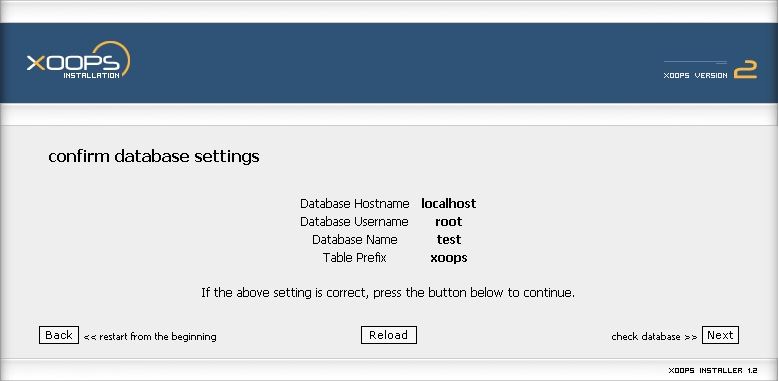
Ok, let's see if the information you provided about your database is correct. The first screen you'll see just repeats what you entered in the General Configuration (Chapter 4, General configuration screen. This is it:
If all data are correct, push the button labeled and the wizard will attempt to do two things: first, it'll try to connect to the database server, that is, it's check to see if MySQL is active and running. It'll then try to connect to the database whose name you defined. You've already seen the screen displayed if for some reason the MySQL server is not available, its in Figure 4.2, “If you can't connect to the MySQL server, you'll see this ugly message.”. So, although this is stating something a bit obvious, please be sure you have MySQL active while installing XOOPS.
Assuming your MySQL server is correctly setup, the wizard tries to access the database, in this case the one called test. What happens now? It depends. If you're installing locally, you probably haven't created the database just yet. In that case, you'll be facing a screen with a single red light on:
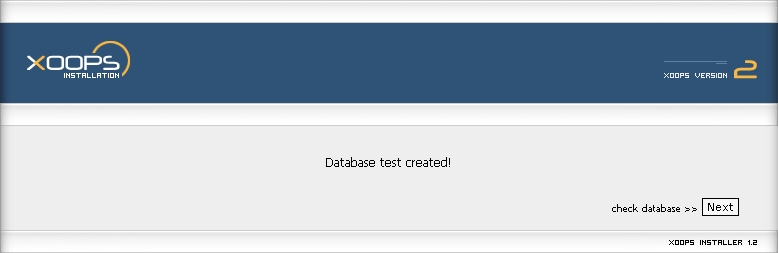
XOOPS didn't find a database on the server, for the simple reason there's still no database there. So of course you should attempt to create it. The attempt, by the way, will put to test your data about the database user and password. So click on .
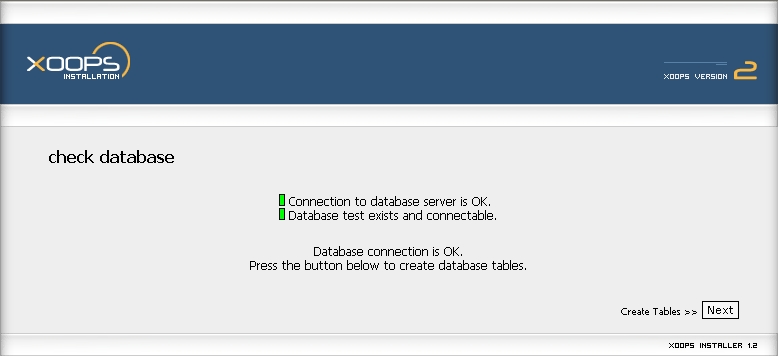
This terse screen just gives you feedback: yes, you now have a blank database called test in your server. So you click again on the omnipresent button labeled Next. This is what you want to see:
If you see any red light, something is wrong. Either your MySQL is not accessible or the user/password combination you entered doesn't have the rights over that specific database. But must probably you'll see this screen with two green lights. This means you have a clear path and are ready to write your tables.
By the way, if you are installing into a remote hosted server, you won't see the bit about creating a table, since you already had done that. The most probable outcome is that you'll jump directly to the screen shown in Figure 6.4, “You are ready to install the tables that create your XOOPS site.”. So don't hesitate and go ahead: click on .
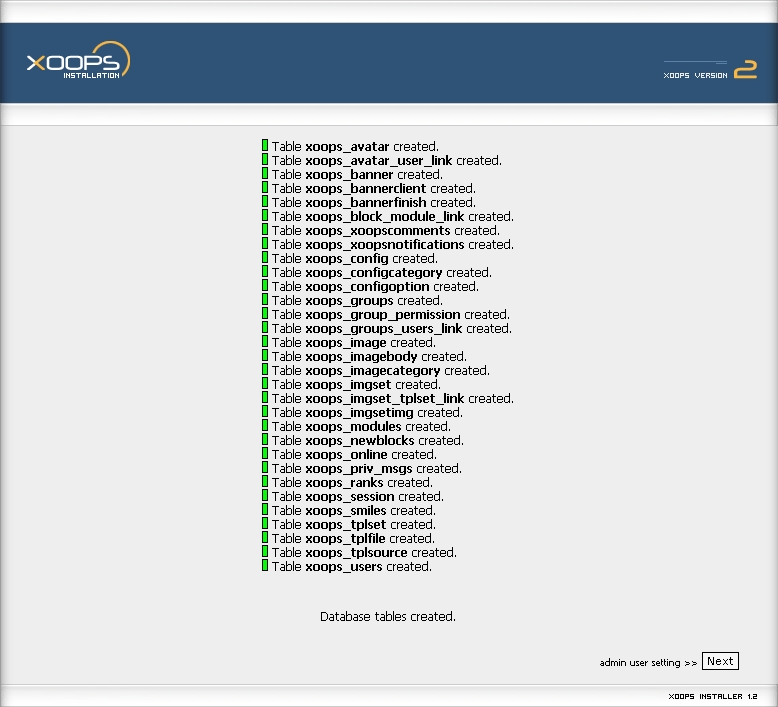
This screen is very informative, because it gives you a still portrait of the tables that comprise your XOOPS site. Let's see what can we tell about what XOOPS just did.
The first thing to notice is that a blank, brand new XOOPS site has 31 tables defined. I'll attempt a definition of what these tables contain, so you can begin to grasp a bit about XOOPS power. Let's see...
xoops_avatar - Holds the identity, path and name of user avatars.
xoops_avatar_user_link - Ties an avatar's id with a user's id, so each user “knows” its avatar.
xoops_banner - Holds all the information about a specific banner.
xoops_bannerclient - Holds all the information about a banner customer.
xoops_bannerfinish - Holds all the information about expired banners, with their click count.
xoops_block_module_link - Ties a block's id with a module's id, so each block “knows” the module to which it belongs.
xoops_xoopscomments - Holds all the information about a comment.
xoops_xoopsnotifications - Holds all the information about notifications.
xoops_config - Holds XOOPS general configuration variables.
xoops_configcategory - Holds the configuration categories.
xoops_configoption - Holds configuration options.
xoops_groups - Holds the identity of users' groups.
xoops_groupspermission - Holds the details of permissions granted to each group of users.
xoops_groups_users_link - Ties a user's id with a group's id, so each group "knows" its users, or each user "knows" to which group it belongs.
xoops_image - Holds all the information about an image stored in the system.
xoops_imagebody - Holds an image, in case you decide to write images in the database.
xoops_imagecategory - Holds the image categories you define in the Image Manager.
xoops_imgset - Holds the identity of an image set
xoops_imgset_tplset_link - Ties an image set's it with a template set's id, so a template set "knows" what images belong to it.
xoops_imgsetimg - Don't know what this is for.
xoops_modules - Holds all the information about a module.
xoops_newblocks - Holds all the defining attributes of a block.
xoops_online - Holds the information about users online.
xoops_priv_msgs - Holds all the information about a private message.
xoops_ranks - Holds the users ranks defined in the admin area, to qualify user's participation in the site.
xoops_session - Holds the information about a session.
xoops_smiles - Holds the information about the codes used to display smilies.
xoops_tplset - Holds the information about a template set.
xoops_tplfile - Holds the metadata of a file that's part of a template set.
xoops_tplsource - Holds the data (the source code) of a file that's part of a template set.
xoops_users - Holds all the information about a user.
These are all blank tables, ready to be populated. You must know that in a very short time, this list will grow. Why? Because the default installation of XOOPS just sets up for you one module: the System module. From here, you must install whatever modules you want your site to have... but I'm running ahead. We still haven't finished installing XOOPS.
So, let's continue. If you don't see all these green lights, you'd probably start be best starting over, because there won't be tables on your database. Then again, if you're very knowledgeable about MySQL, you may be able to set the tables manually, by importing into your database the script install/sql/mysql.structure.sql. But let's hope you don't need to do this. If you already have the battery of green lights, get set, because now you need to... click on the button labeled . So what else is new? Ah, of course. Let's go to Chapter 7, Admin settings
| | |
| Chapter 5. Path and URL | Home | Chapter 7. Admin settings |