|
 Note:
This page is graphic intensive and may take a while
to download Note:
This page is graphic intensive and may take a while
to download
Web Hosting
At this stage it is
assumed you have the required web host and domain name to install
Xoops. If not see HERE for the
Xoops requirements and some recommended web hosts.
File Transfer and
CHMOD
To install xoops
successfully the webmaster needs to know how to use FTP (File
Transfer Protocol) to transfer the Xoops files to the host server.
An ability to add permission levels to folders and files is also
required. This permissions adding process is called CHMOD.
Some folders and files need to be "writeable" to install
Xoops. This gives Xoops the permission to write information to
files on your server directly. During the install Xoops informs
the user which folders and files needs to have writeable
permissions added.
This is of course easy
when you know how, but difficult if you don't. I would recommend
first ensuring you have WinZip on your computer, or any other
program that can unzip compressed "zip" format files.
To download WinZip
click HERE
A very good program I
use to transfer files by FTP is called SmartFTP. It is free for
non-commercial use and also has some tutorials on the SmartFTP
website. This program has a very good drag-and-drop facility.
To Download SmartFTP
click HERE
CHMOD and File
Transfer Tutorials
To Learn about
SmartFTP and CHMOD permissions click HERE.
This page has flash movie viewlets which demonstrate step-by-step
how do do various file transfer tasks. Near the bottom of the page
is a handy CHMOD flash video tutorial.
My web host has a
number of flash movie tutorials which cover a wide area of skills,
including using SmartFTP and other well known FTP programs. See HERE
and look for the SmartFTP heading and click on "managing your
files in SmartFTP".
Have a practice at
uploading files and folders using drag and drop. Try using CHMOD
commands on some files and folders. Please do the tutorials,
without this skill you will be unable to install Xoops. Changing
permissions on folders and files normally involves just right
clicking on the file and choosing CHMOD or "Properties"
depending on the FTP program being used.
Download Xoops
Of course the latest
distribution of Xoops needs to be downloaded to your local
computer, at the time of writing this was Xoops 2.0.6.To download
Xoops click HERE
If you are using a "zip" style compressor like WinZip,
choose the "zip" download. The other format called
tar.gz can be handled by WinZip too, but is not so easy to
uncompress if you don't know how.
Unzip Xoops
Once Xoops is
successfully downloaded "unzip" the Xoops files to a
folder on your local computer. by double clicking on the Xoops
"zip" icon, this is normally on your desktop. A dialogue
box will appear, now click on "I agree", and then
"next" twice.
Now you can click on
the "select different folder" button and click on the
"desktop" icon, or type this in the top bar: C:\Windows\Desktop\myxoops.
(assuming you are on windows). WinZip will create a folder called
"myxoops" on your desktop and unzip the folders and
files into it. Doing it this way means you have easy access
to your Xoops files from your desktop.
Do Not Upload Files
Yet
It is important to
upload the folders and files correctly using the correct
structure. If you wish to have Xoops launch in the root of your
web site you need to upload the files and folders contained in the
HTML folder to your web root. Not the HTML folder itself.
Installing to your web root means Xoops will launch as soon as
visitors visit your web site. Forget about the other folders just
now, Xoops is contained in the HTML folder. The other folders are
just extras.
If using SmartFTP make
sure it is set to "Automatic" for uploads and downloads.
If you move your pointer over the icons at the top toolbar and
hover over them one will give a hint which says "Auto".
Next door is two icons called "ASCII" and
"BINARY"; ASCII is for text files, and BINARY is
for image files. But if you are set to "AUTO" SmartFTP
will automatically recognize which is which when you upload.
SmartFTP normally defaults to this anyway.
You must also make
sure SmartFTP is set to "preserve case". To check this
out go to tools and settings. Then click on "Transfer"
and ensure the defaults is "preserve case". If this is
not set then Xoops will be unable to find paths to files. This is
not as important on Windows servers, but it is on Unix servers.
Upload your Xoops
Files
I am assuming you have
studied the SmartFTP video tutorials, and you will know how to
connect to your web server and drag and drop folders and files,
and also change CHMOD permissions.
1. If using SmartFTP
open up your local browser to show the folders and files in the HTML
folder in your Xoops download. Double click this to open the
folder up ready for drag and drop.
2. In the web server
window, and If installing to your web root, your root folder will
normally be in a folder called "public_html",
double click this to open it up. Your web setup may be different,
but your web host should have informed you where your root folder
is.
3. Drag all the
folders and files in the HTML folder up to your web server. You
can multiple select files by holding down Ctrl or Shift on your
keyboard. When it comes to folders I normally do them one at a
time. Files can easily be multiple selected.
4. After uploading all
the folders and files in the HTML folder to your root folder,
double check visually if the folders and files are all there. Some
folders contain many other folders, so I double check the matching
folder structure in both screens to ensure all the folders and
files are uploaded.
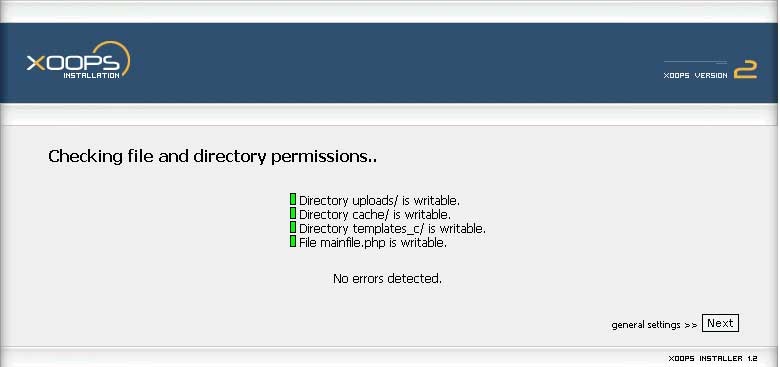
5.CHMOD. During the
actual install Xoops will recognize which files and folders do not
have the correct permissions, the files that need writeable
permissions are:
-
"cache"
folder (CHMOD 777)
-
"template_c"
folder (CHMOD 777)
-
mainfile.php
file (CHMOD 777) (this is changed back to 444 after
install for security)
-
"uploads"
folder (CHMOD 777)
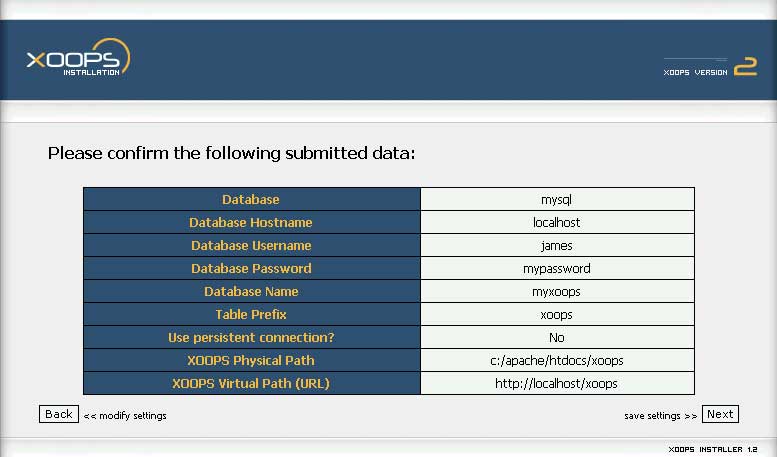
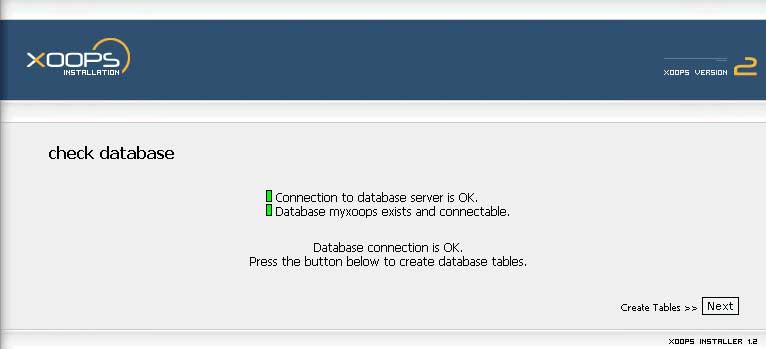
Create your
Database
To install Xoops you
need a database to connect to allow Xoops to write the database
tables it requires to function. To create a database you need to
go to your control panel for your web account. Different hosts
have different control panels, but many of them are similar in
look and function. Your control panel will normally have an mySQL
icon. Click on this and it will take you to a create database
dialogue box. This should be quite intuitive, after you create
your database and call it it a name, you will need to add a user
name and password for this database. it is important to get this
right, these details are needed for the install. Quite often
though the initial user name will default to your web account name
and your password will be your FTP password. If in doubt contact
your web host.
My host has a flash
video tutorial on how to do this for my control panel. See HERE
and look for a Cpanel heading and click on "Creating a
mySQL database"
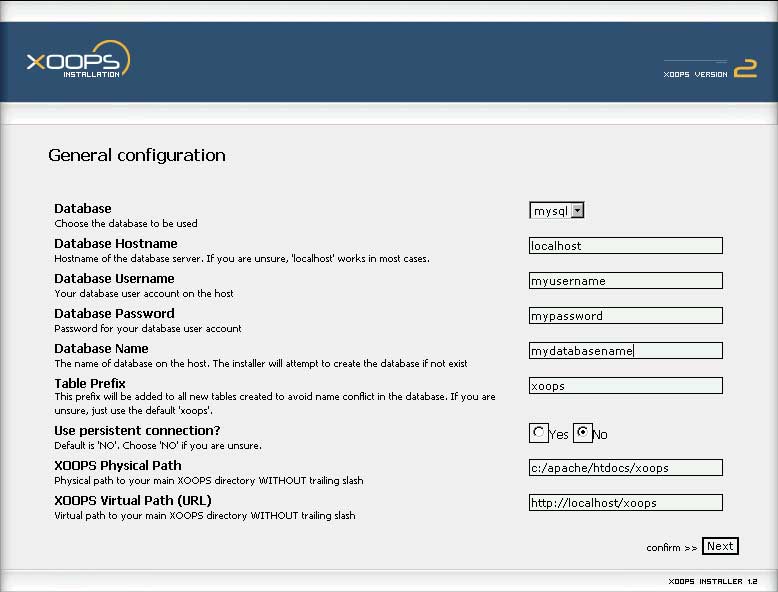
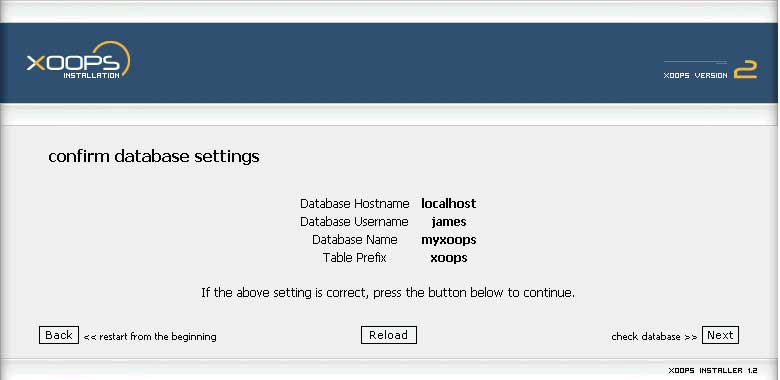
Database Details
you need:
-
Server
name--normally called "localhost" your welcome email
should tell you
-
Database name
-
Database user
name (often the same as your web account username)
-
Database
password (often the same as your FTP password)
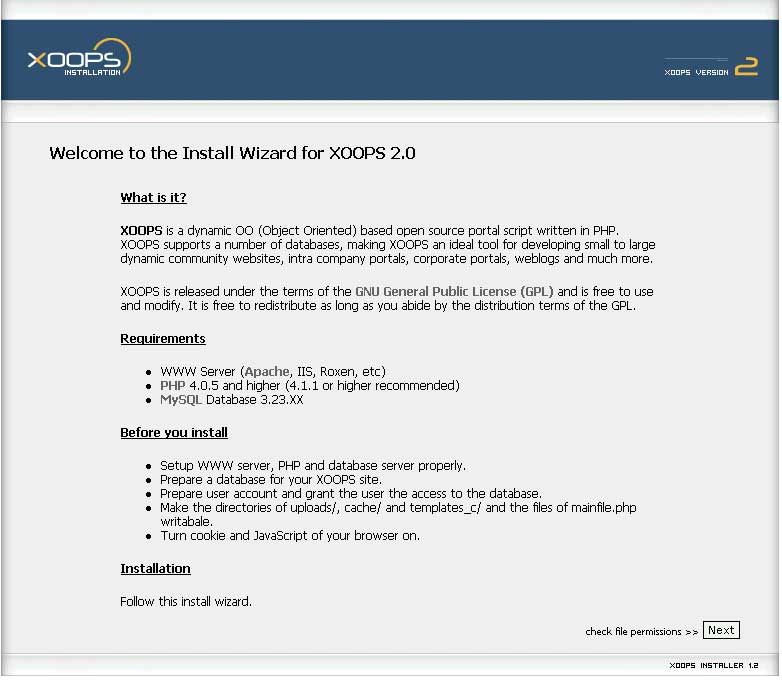
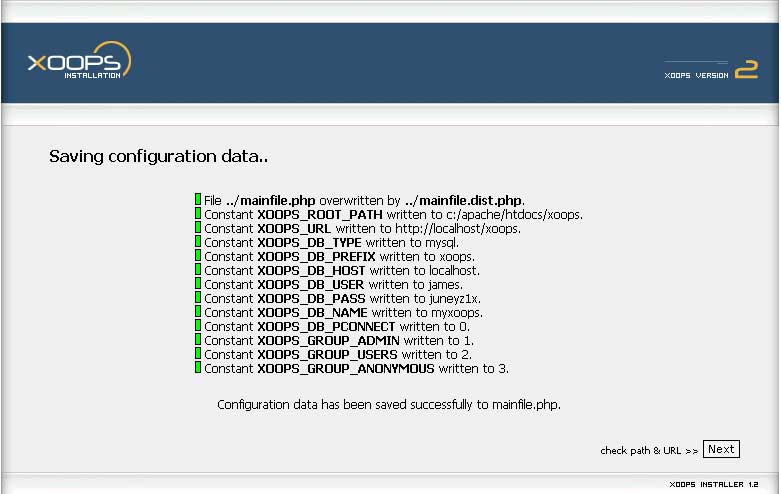
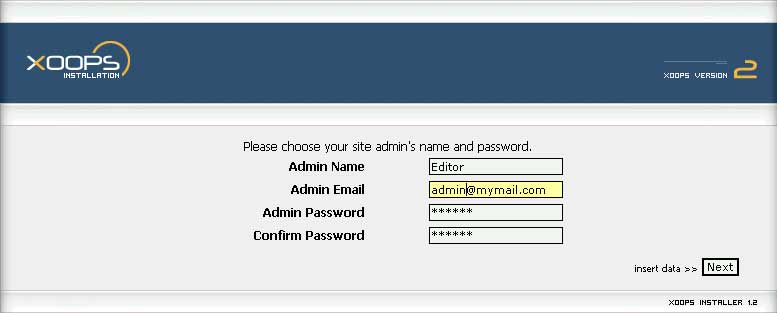
Run the Xoops
Installer
To Install Xoops
type your domain name in your web browser i.e.
http://www.yourdomain.com
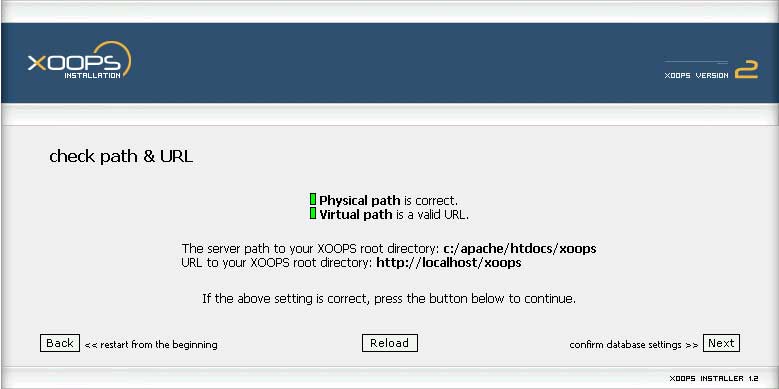
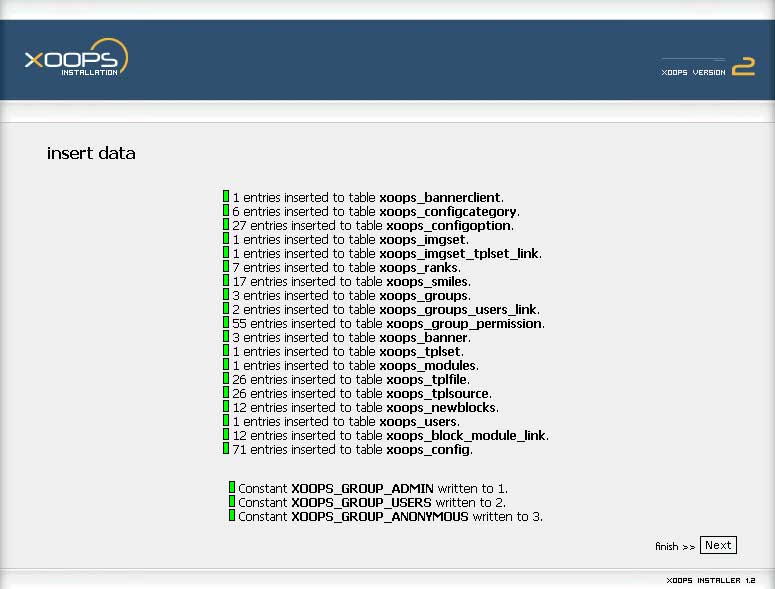
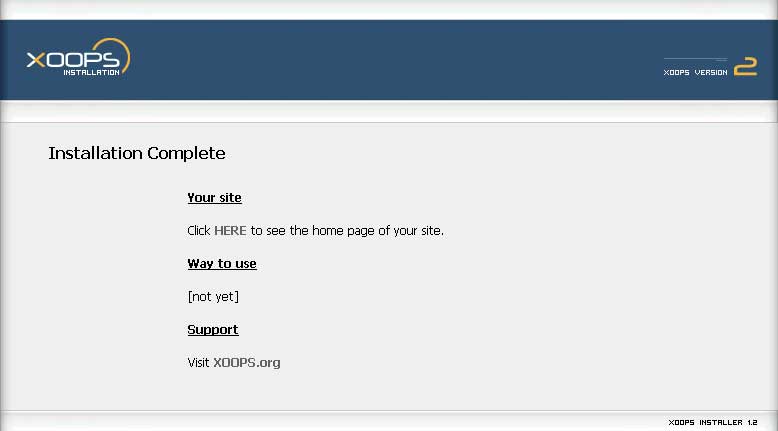
If your files have
been uploaded correctly then the Xoops installer will run, and you
will be presented with a number of install screens. Click on
"Next" to the bottom right of each screen to proceed to
the next..
|